

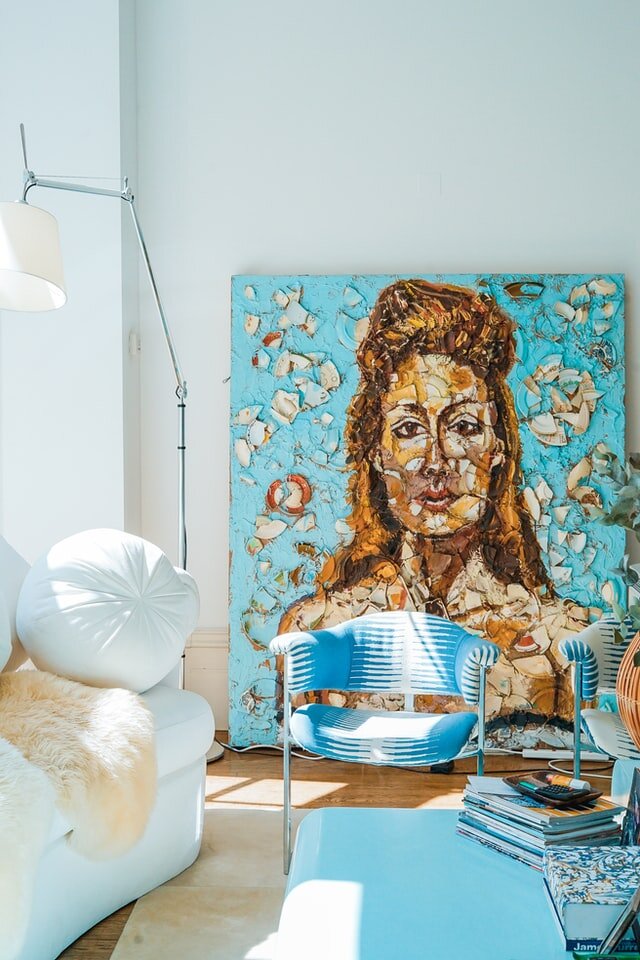
How to hang & display art in your home

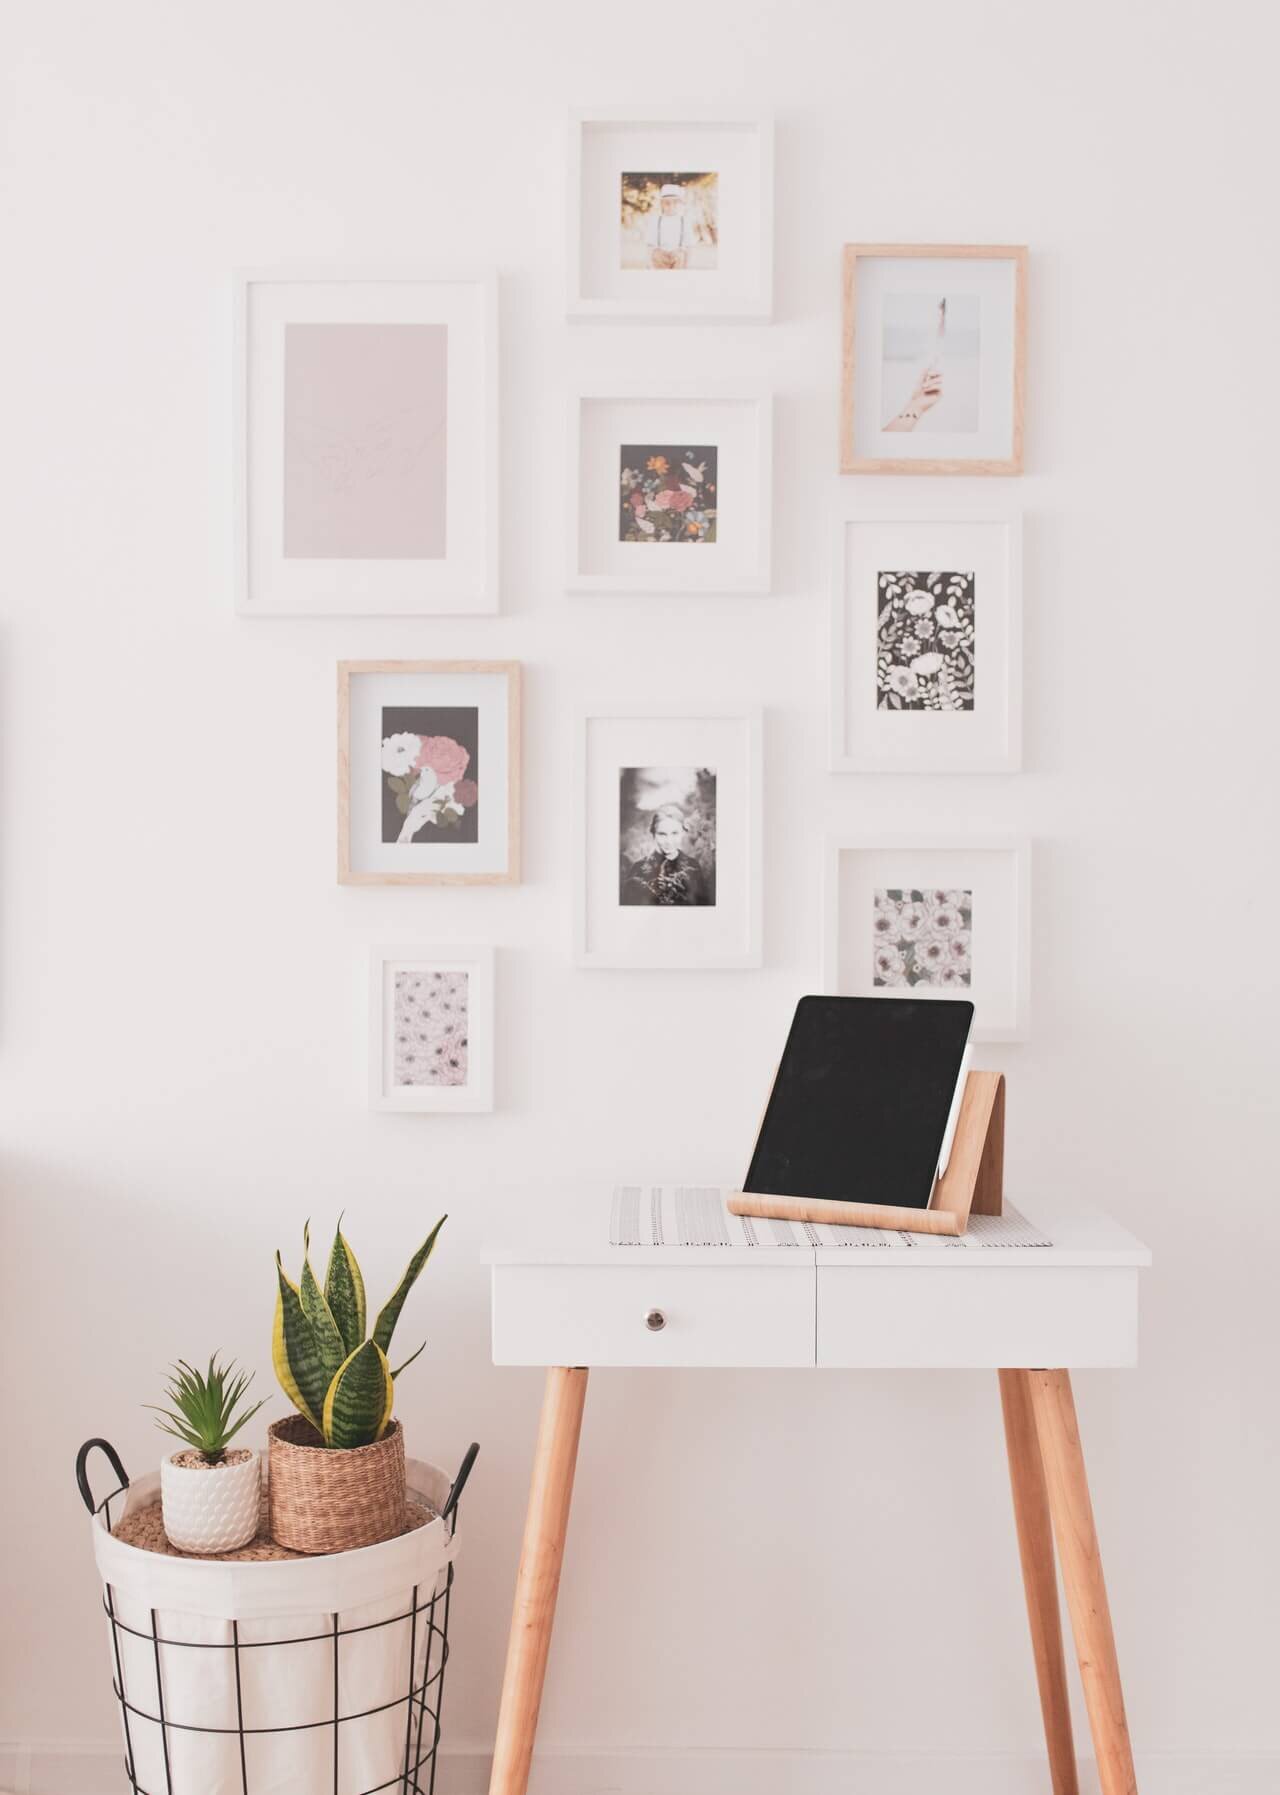
Photo by Oleksandr Koval on Unsplash
This blog covers an expert guide on how to hang picture frames, art, canvas, paintings, and the tools you will need.
Also what to take into consideration when choosing the correct art and where you are intending to display them showing different display methods.
From a small picture in a wooden frame to a large canvas print or a grouping of displayed artwork, this will give you all the information you will need from my experience working in the interior design industry.
I am guessing that if you are interested in this article you are thinking to hang the art yourself, thinking to buy some art or frames, or have family photos. I am sure you would like the results to look pleasing to the eye and most of all be safe and stay secure once it is hung up if so carry on reading

Hanging Pictures, art, canvas, paintings on a wall
The first thing is to look at are the walls where you intend to hang the pictures. First, decide can I drill into this is it brick plaster tile, etc
I have found the most common ways to secure the pictures if it is going to hang on the wall.


The different types of wall you will hang the pictures on
1. Brick wall is the strongest and can be drilled into and will hold heavy pictures and weights. Drilling into the mortar around the brick is less messy and easier to patch, however, if it has to be the brick be careful as it isn’t as easy to patch. To drill into the mortar I recommend a 1/8 masonry bit. Wear goggles to protect your eyes, and a mask to protect yourself from the dust. When you have drilled the hole tap a raw plug into the hole with a mallet. Screw the picture hook into the wall using a hand driver as this makes it easier to control. Use a flat head coarse screw and ask the vendor for the correct raw plugs for the correct type of wall that fit the size screw you choose.
Picture frame plates are great to secure at the back of the frame to hang on to the screw, just make sure the screw head fits into the plate.
2. Drywalls and Plaster are not so strong and may crumble when drilled and simply just don’t hold the raw plug so in this case, a thin long nail hammered in carefully would be the best solution. Hammer the nail on an angle as this will make it stronger than straight on, until it has gone in 1/3 of the way. Depending on the plaster or drywall it might be best to first drill a thin hole before hammering in the nail to stop crumbling the wall causing less damage. To do this use a thin drill bit that is slightly smaller than the nail.

Photo by Ksenia Chernaya from Pexels
3. Hanging on a tiled wall will require a special diamond head drill bit that needs skill and care. I would highly recommend hiring an expert if you drill into tiles as they are easy to break unless you are prepared to re-tile the broken. Self-adhesive hooks with humidity-resistant backs for small lighter pictures could be used, but how long they stay is another question.
Use adhesive sticker hooks if the picture is 5 lbs or less as this is the easiest way with plaster or drywall. Make sure the wall is clean and dry before sticking the hook. These are perfect for rented homes if you don’t want to make holes in the wall, however are not always the best solution as they can come unstuck.
4. Securing the hook to the stud behind the drywall. This would only be necessary if the weight is more than 100lbs. It can be tricky to find the stud and maybe better to hire a professional. Finding the stud is tricky so test first to see if you hit the stud by using a stud finder that you can buy from DIY stores. Be careful there isn’t a pipe, wiring, or air conditioning where you drill. Most studs are spaced at 16’’ intervals. This could change near the end of walls, windows, or doors. If you have lighting, or light switches be aware that they could be running near the stud. That is why I recommend a professional. To double-check Knock the wall with your knuckle and the sound of hollow to solid changes so that should be the stud. Use a 1 ¼ inch screw as you don’t want to go too far and hit wires, make sure the screw is strong enough to take the weight. Use screws with a large flat head and coarse threads that grip into the lumber wood. If you hit something stop and find another spot.
Photo by Carlos Montelara from Pexels


Choosing the right frames, art, pictures, canvas & how to display them.
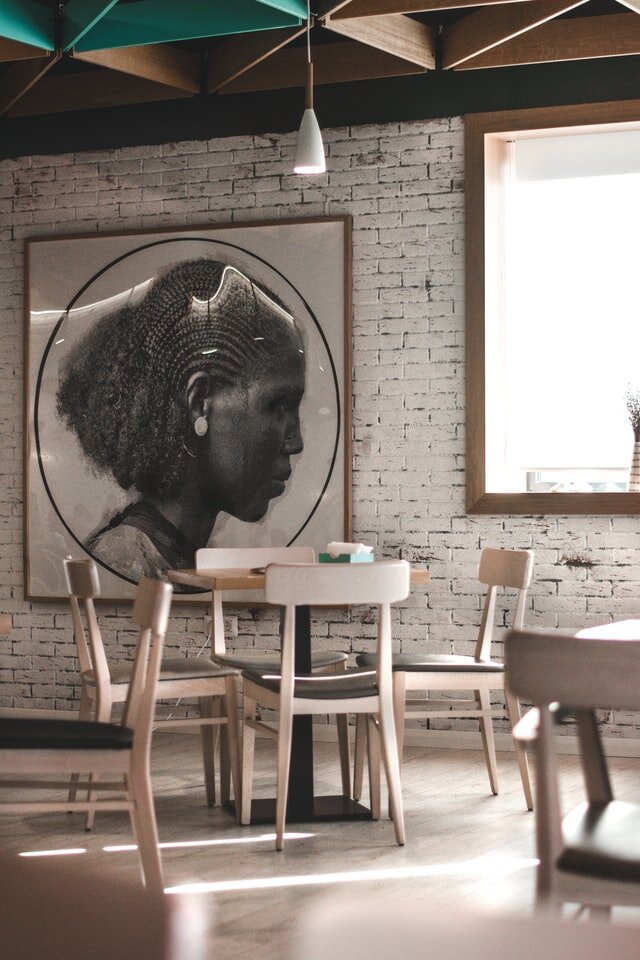
Let's move on and look at choosing the correct art, and where you intend to display it. The reason why we put art or picture frames in our home is for the pleasure of the eye. There is no function behind it unless it is covering a safe or a hole in your wall. There are so many factors to think about before you go placing any picture in any place. Art should be hung at a comfortable height for the eye and not too high unless the room extends up to the second floor and you want to display a large painting.
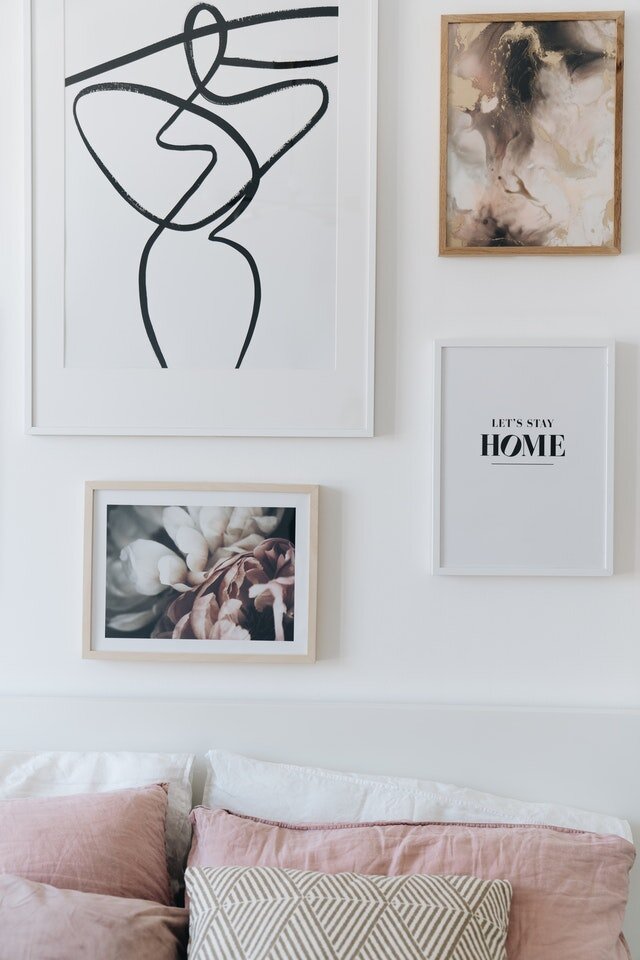
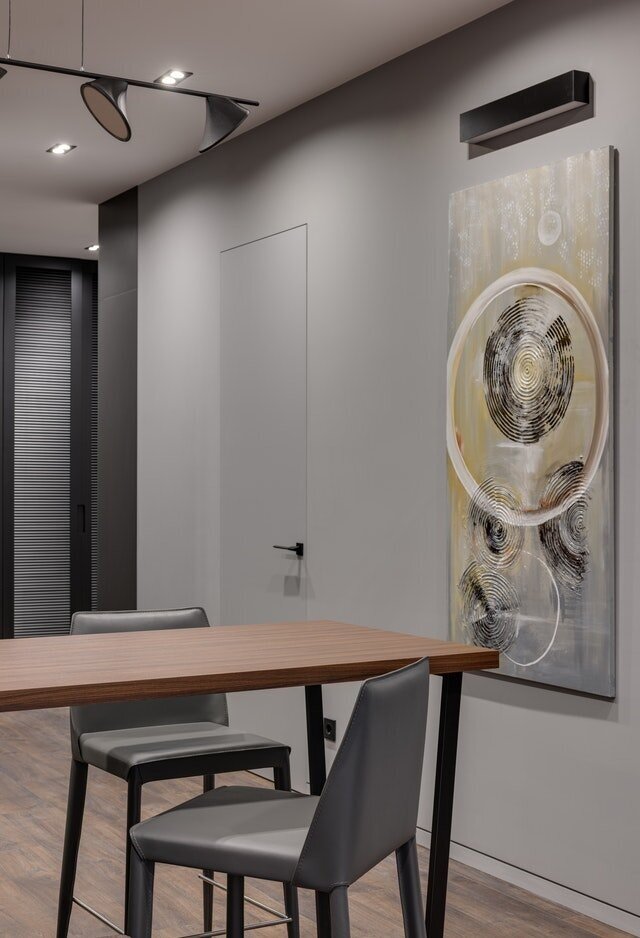
Things to think about are the color scheme of your room the size of the frame the type of frame, or maybe it is without a frame or a canvas. Think about the type of art, for example, is your room modern, retro full of antiques, etc. Who lives in the home? Maybe your husband would not appreciate a picture of flowers and your grandmother a painting of modern art etc. Does the space fit to having a single painting or a group of different pictures? When choosing a collage of pictures think about how the colors should flow into each other and if they are pleasing to the eye? Displaying personal prints is a beautiful way to show memories and connect with making you feel more at home.
I see so many times in people’s homes where they have chosen the wrong pictures or art, and it is unpleasing to the eye and wrongly placed. I know beauty is in the eye of the beholder, but the right choice makes such a difference to the room.
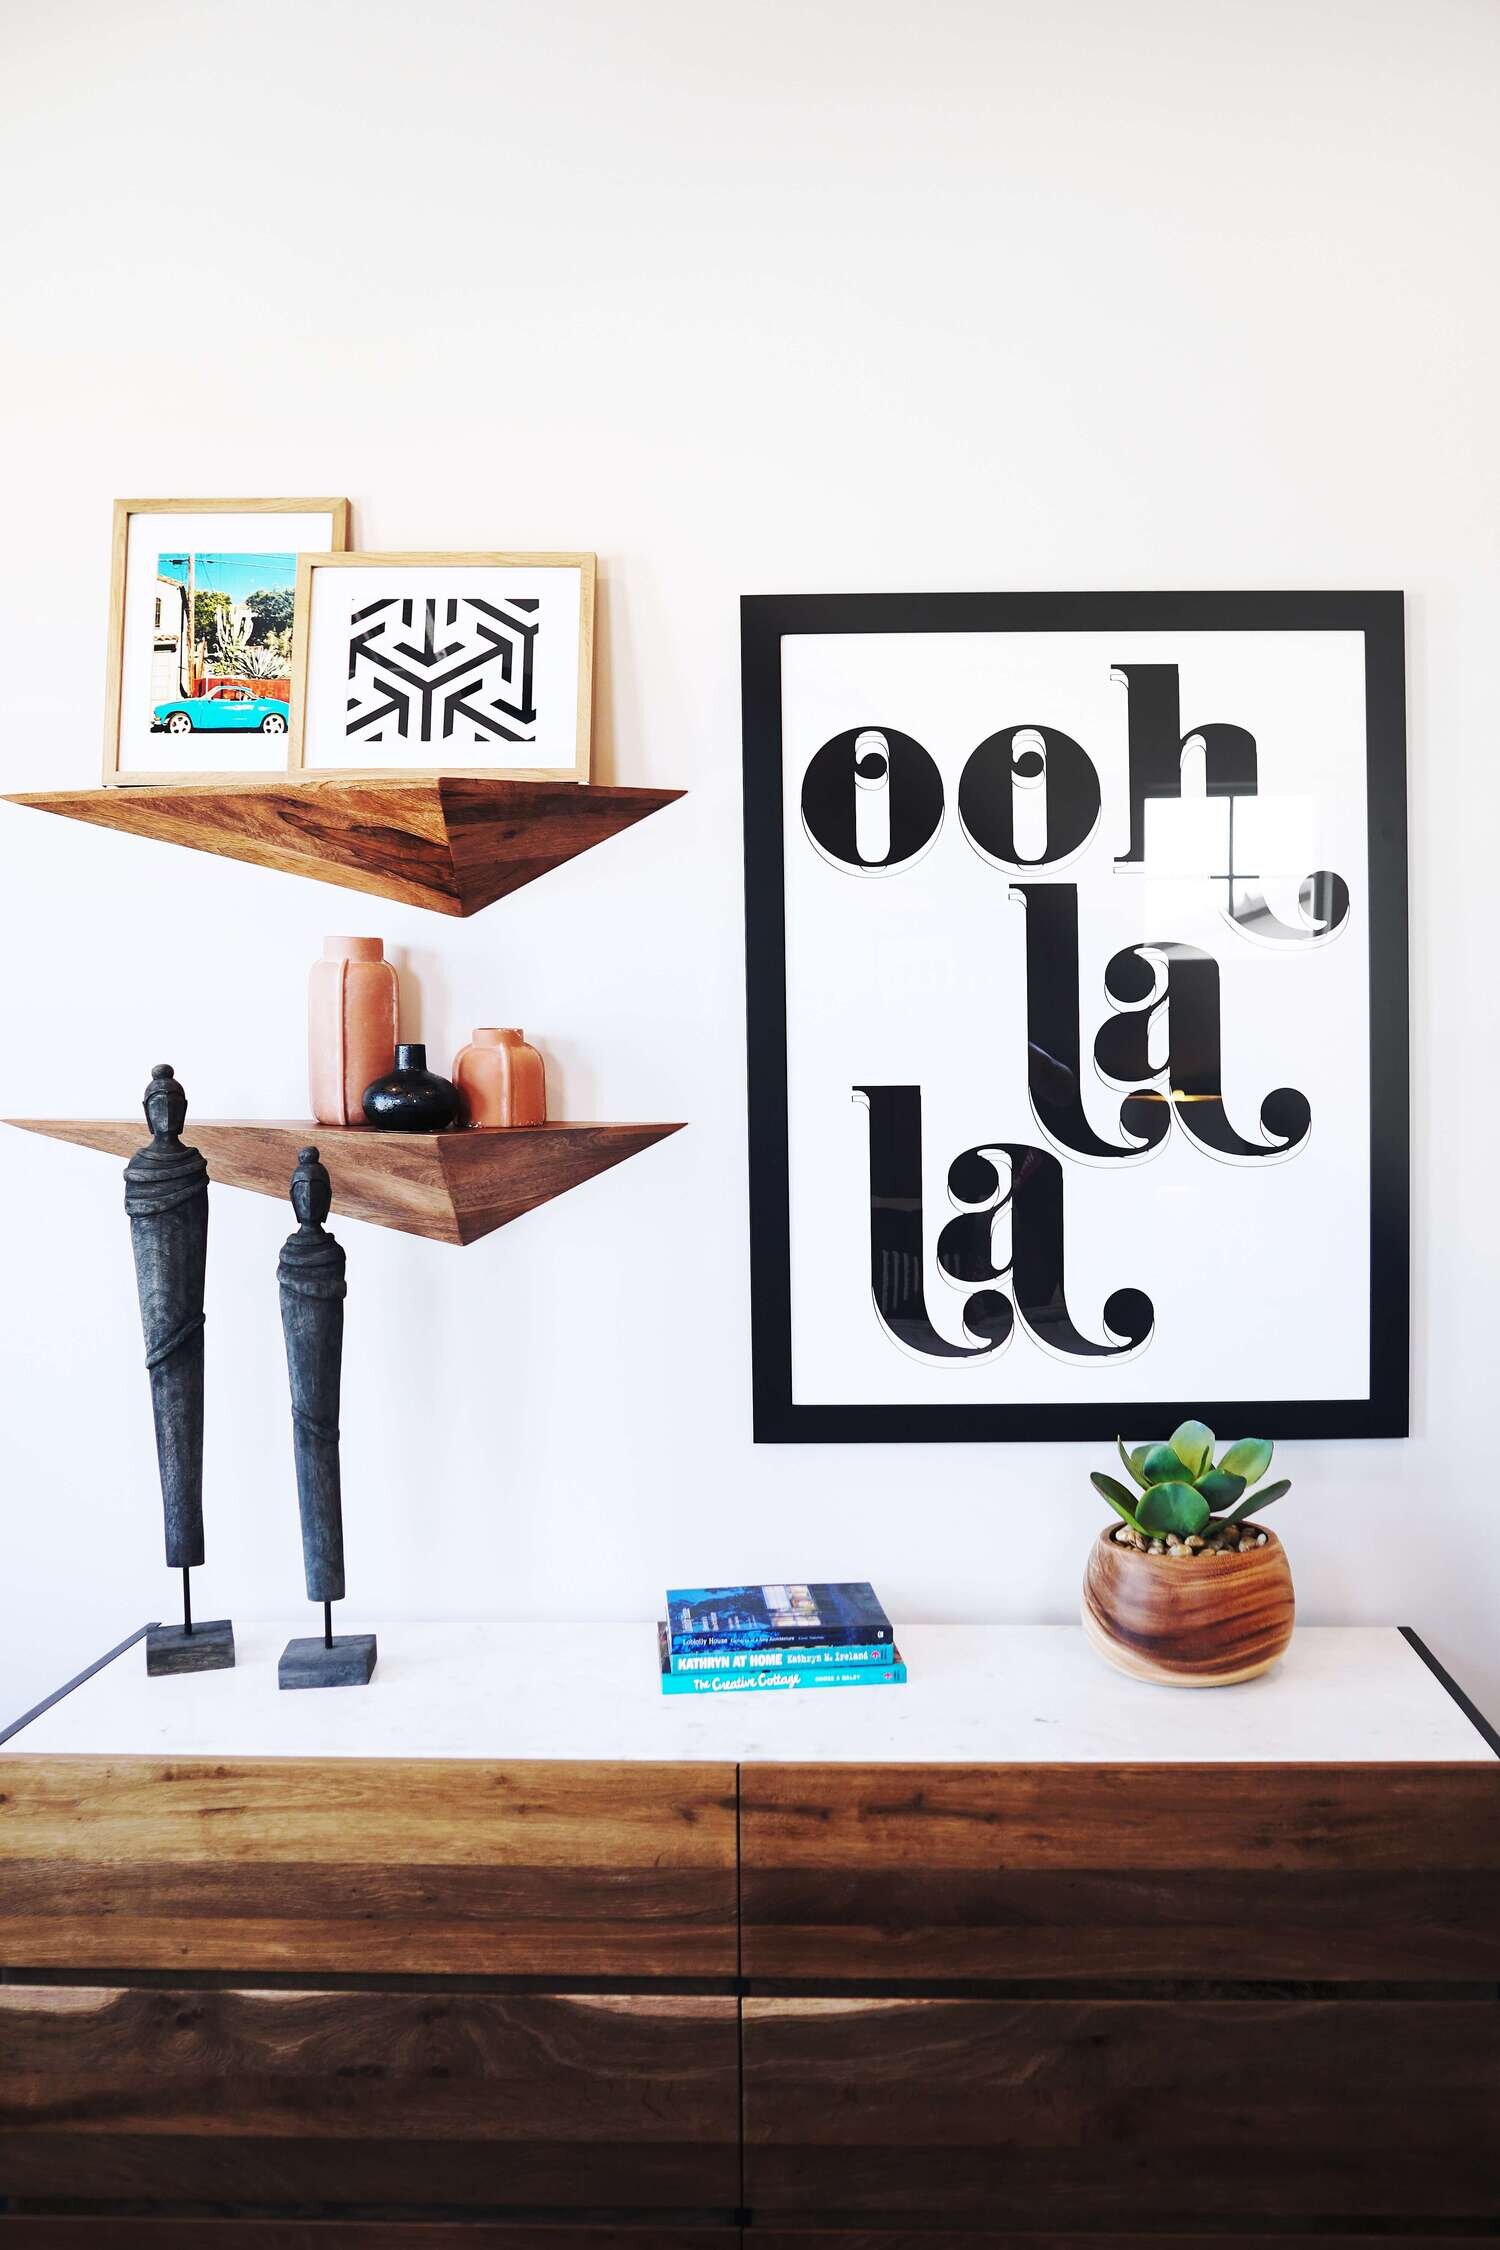
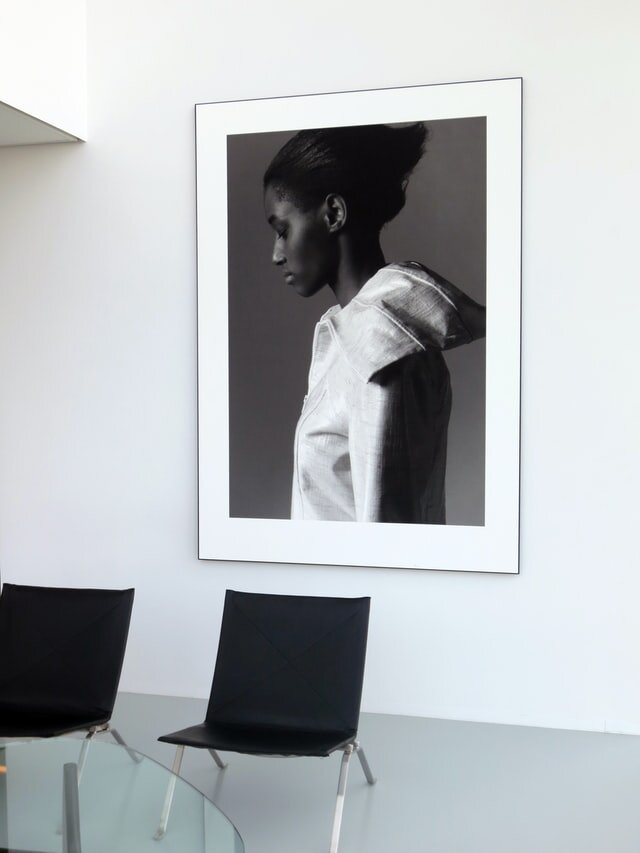
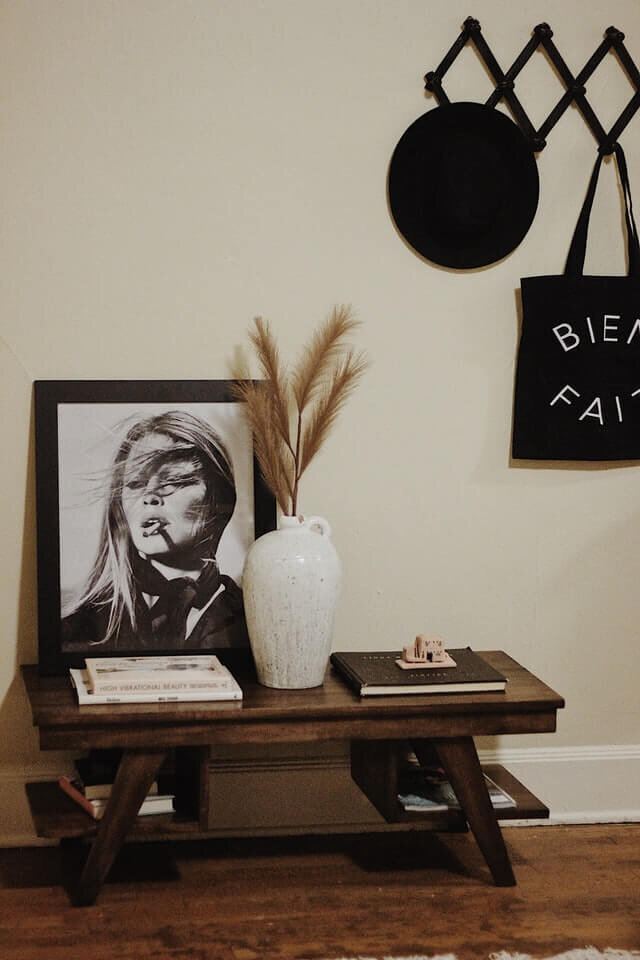
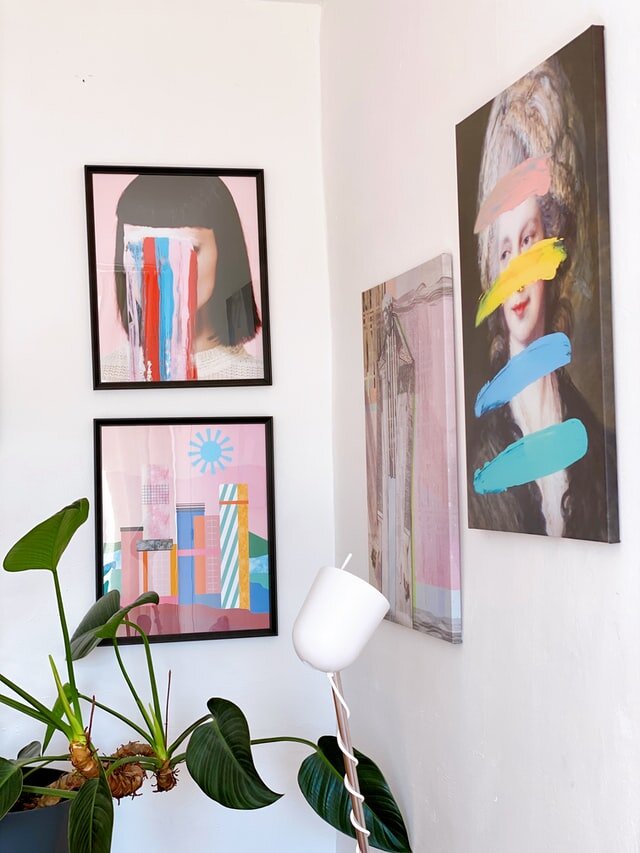
Apart from making a statement on a wall with a large print, canvas, or a collage of 2, 3, or many, what other ways could art be displayed?
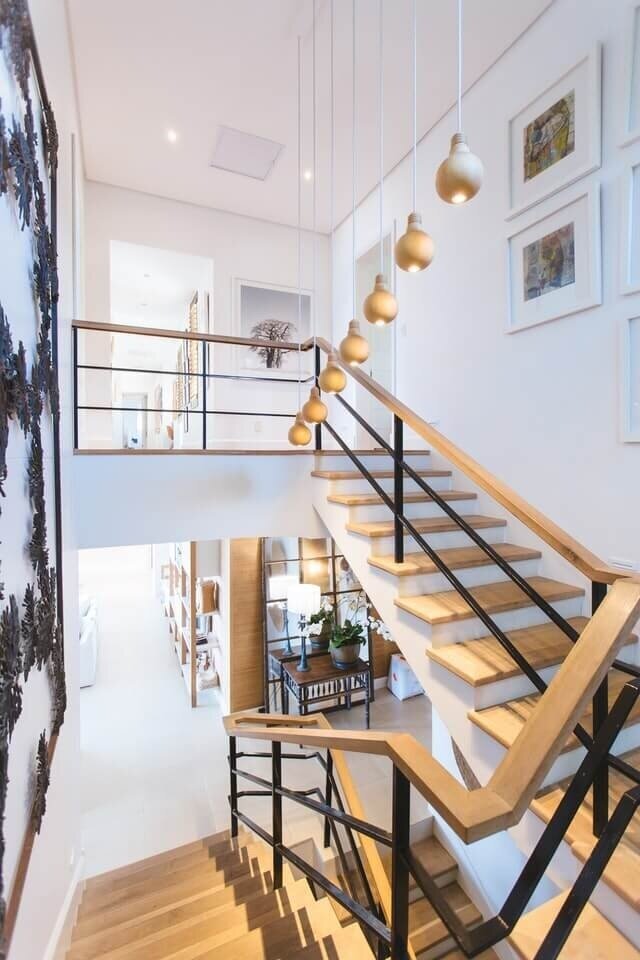
They could be on a shelf a picture shelf or in a display cabinet. They could stand on a table or bedside cabinet. Have family pictures going up your stairs wall or on the entrance in your hallway. They could hang from a rail or sit on a ledge, there are so many options.
How to mark out picture collage displays.
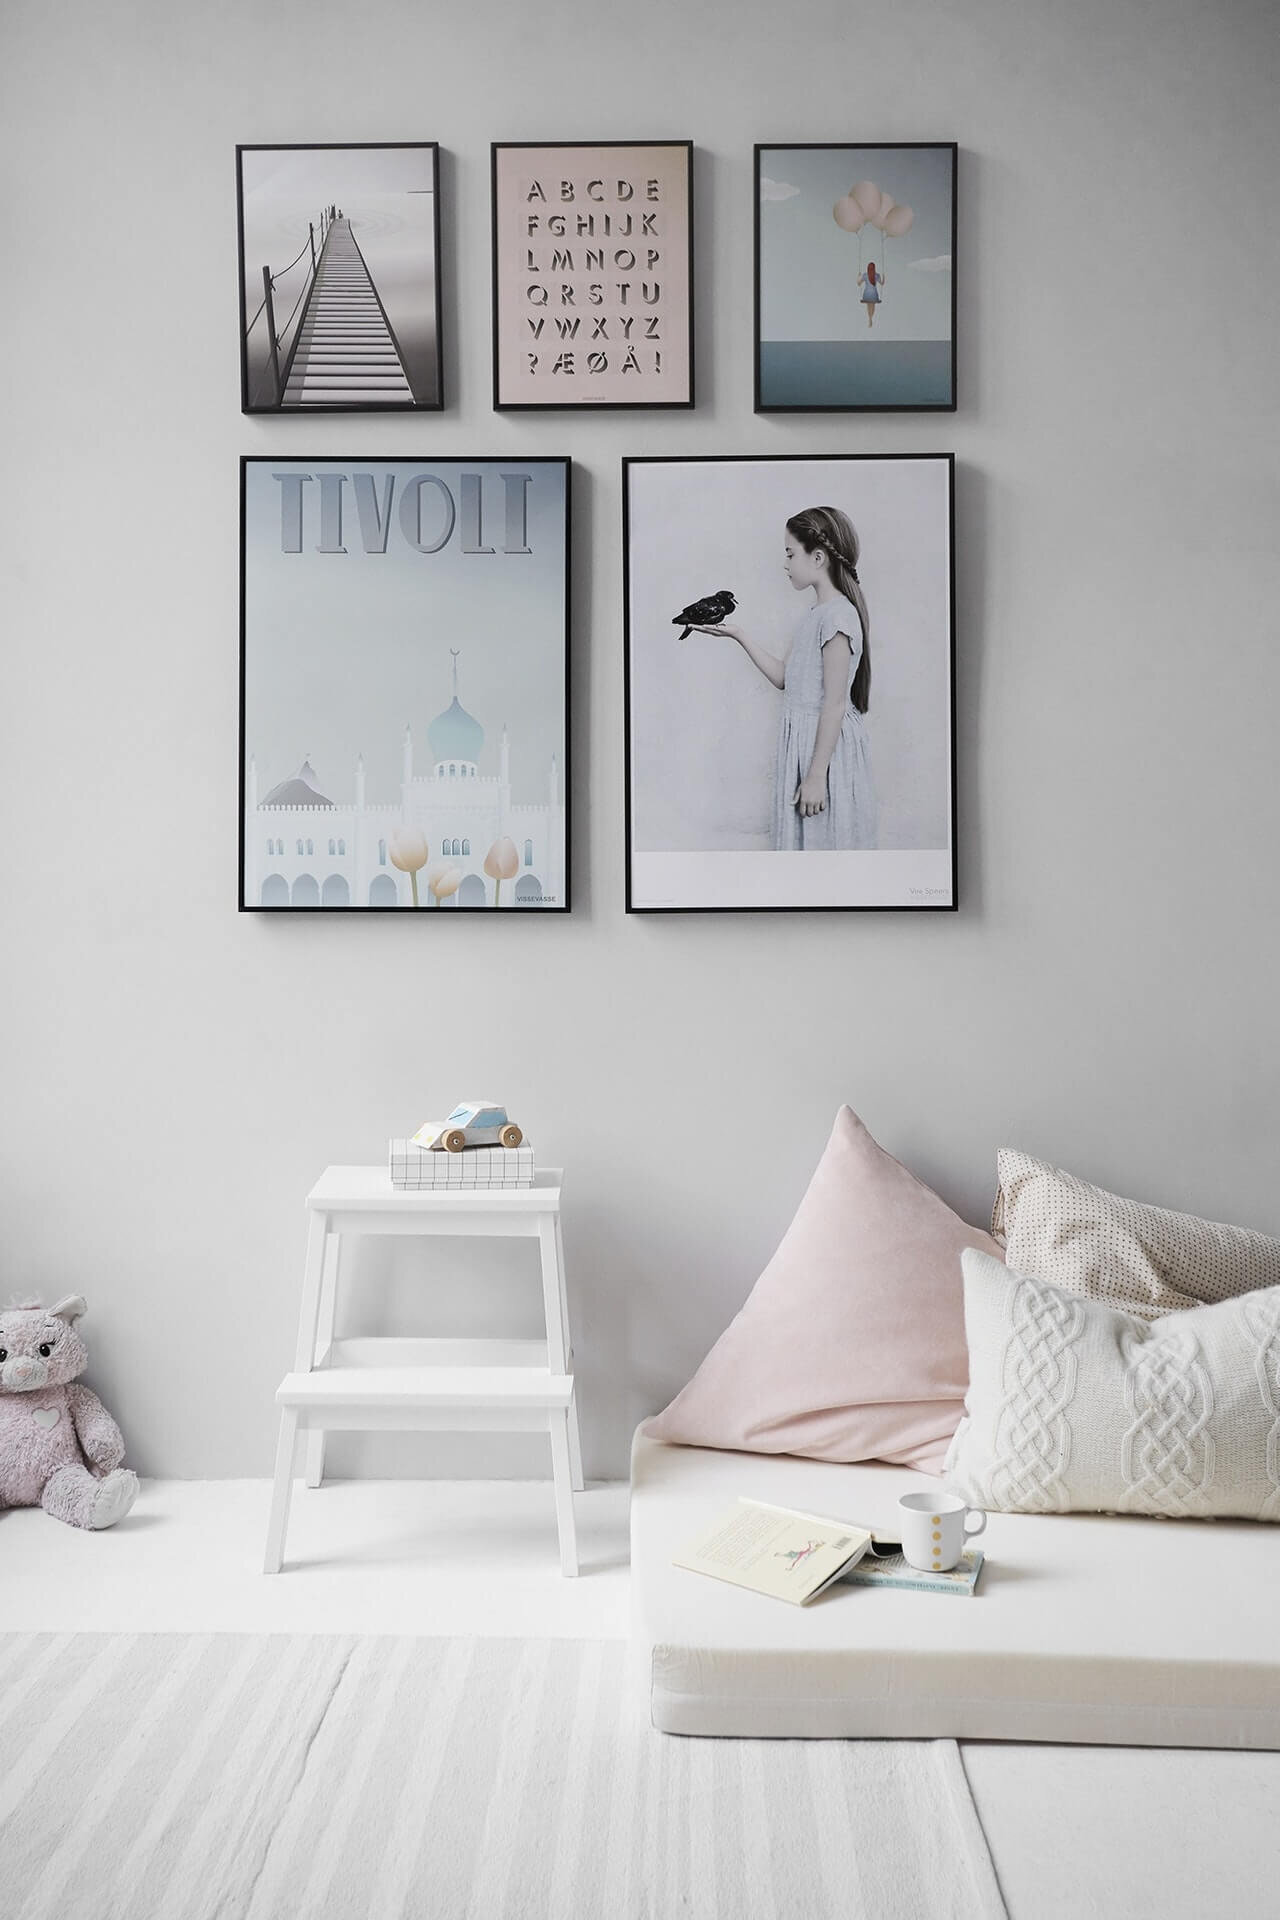
There are many ways you can do this, however, I recommend the way that I think is best for the pictures to look straight and correct in the space that you have. The first thing I look at is the wall space and visualize in my head the area I want to cover, for example, I want the pictures to center the sofa at eye level and not to go higher than the top of the door.
Mark out in masking tape a rectangle area so that the pictures are arranged inside this space.
When placed above furniture the rectangle space should be about 1/3 smaller
Keep the center of the grouping of pictures at eye level
Trace around each picture with brown paper or thick craft paper.
Arrange the pictures on the floor to get an idea of how it looks
With masking tape arrange the cutouts inside the rectangle area until it looks balanced.
Check that you have even spaces around each picture using a tape measure and a spirit level
Mark out where the hook will go by measuring the back of your picture and transferring it to your paper cutout.
Lastly with the paper still on the wall hammer in the nail, or drill in the hook.
see the guide below


Always check the pictures are level with a large spirit level.


I know it sounds like a lot of work, but doing this slowly, and accurately will definitely in the long run save you time, and frustration. Imagine finishing and standing back only to find the pictures too high, not centered, and wonky. Take your time the results will be worth it!
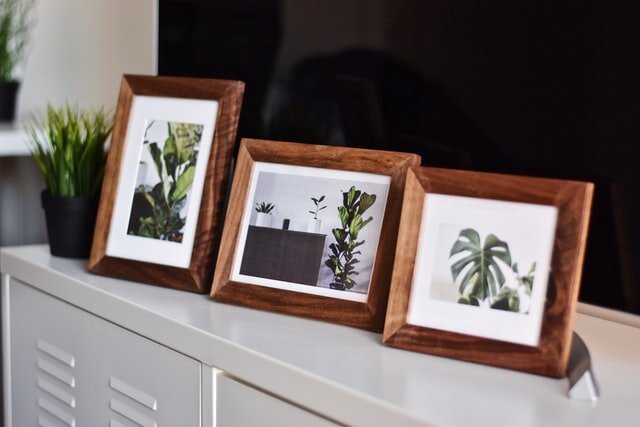

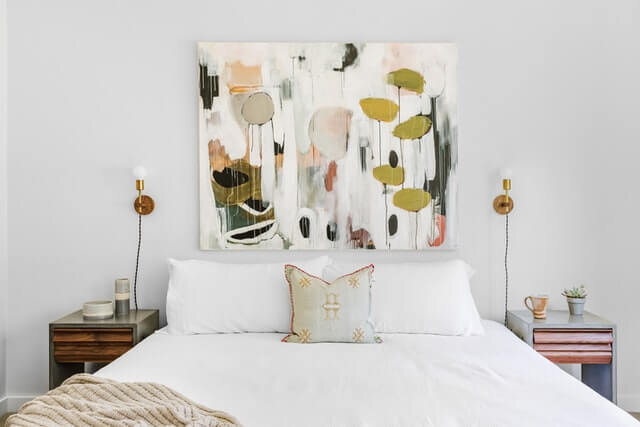
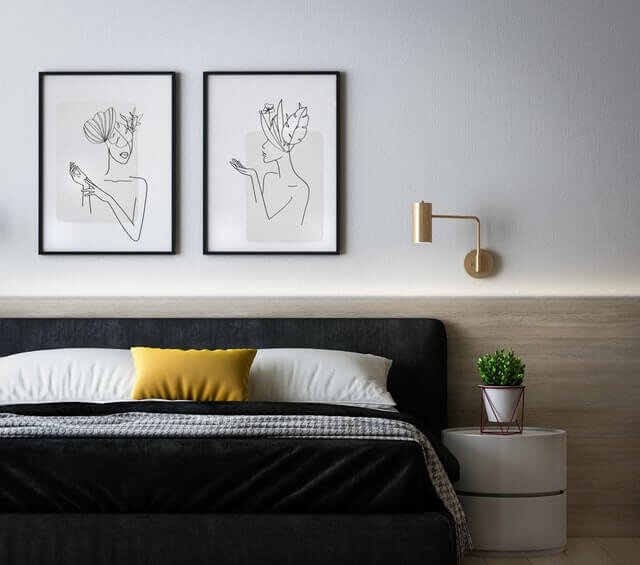


Photo Trend Unsplash.com

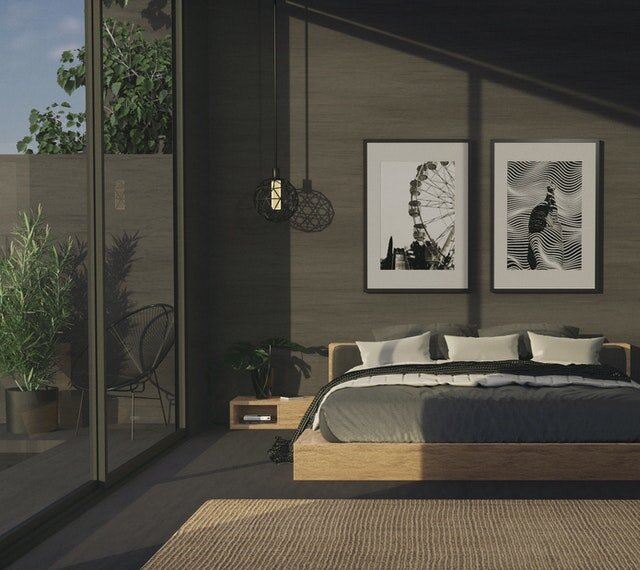
Photo Kam Idris Unsplash.com

Ian Williams Photo unsplash.com
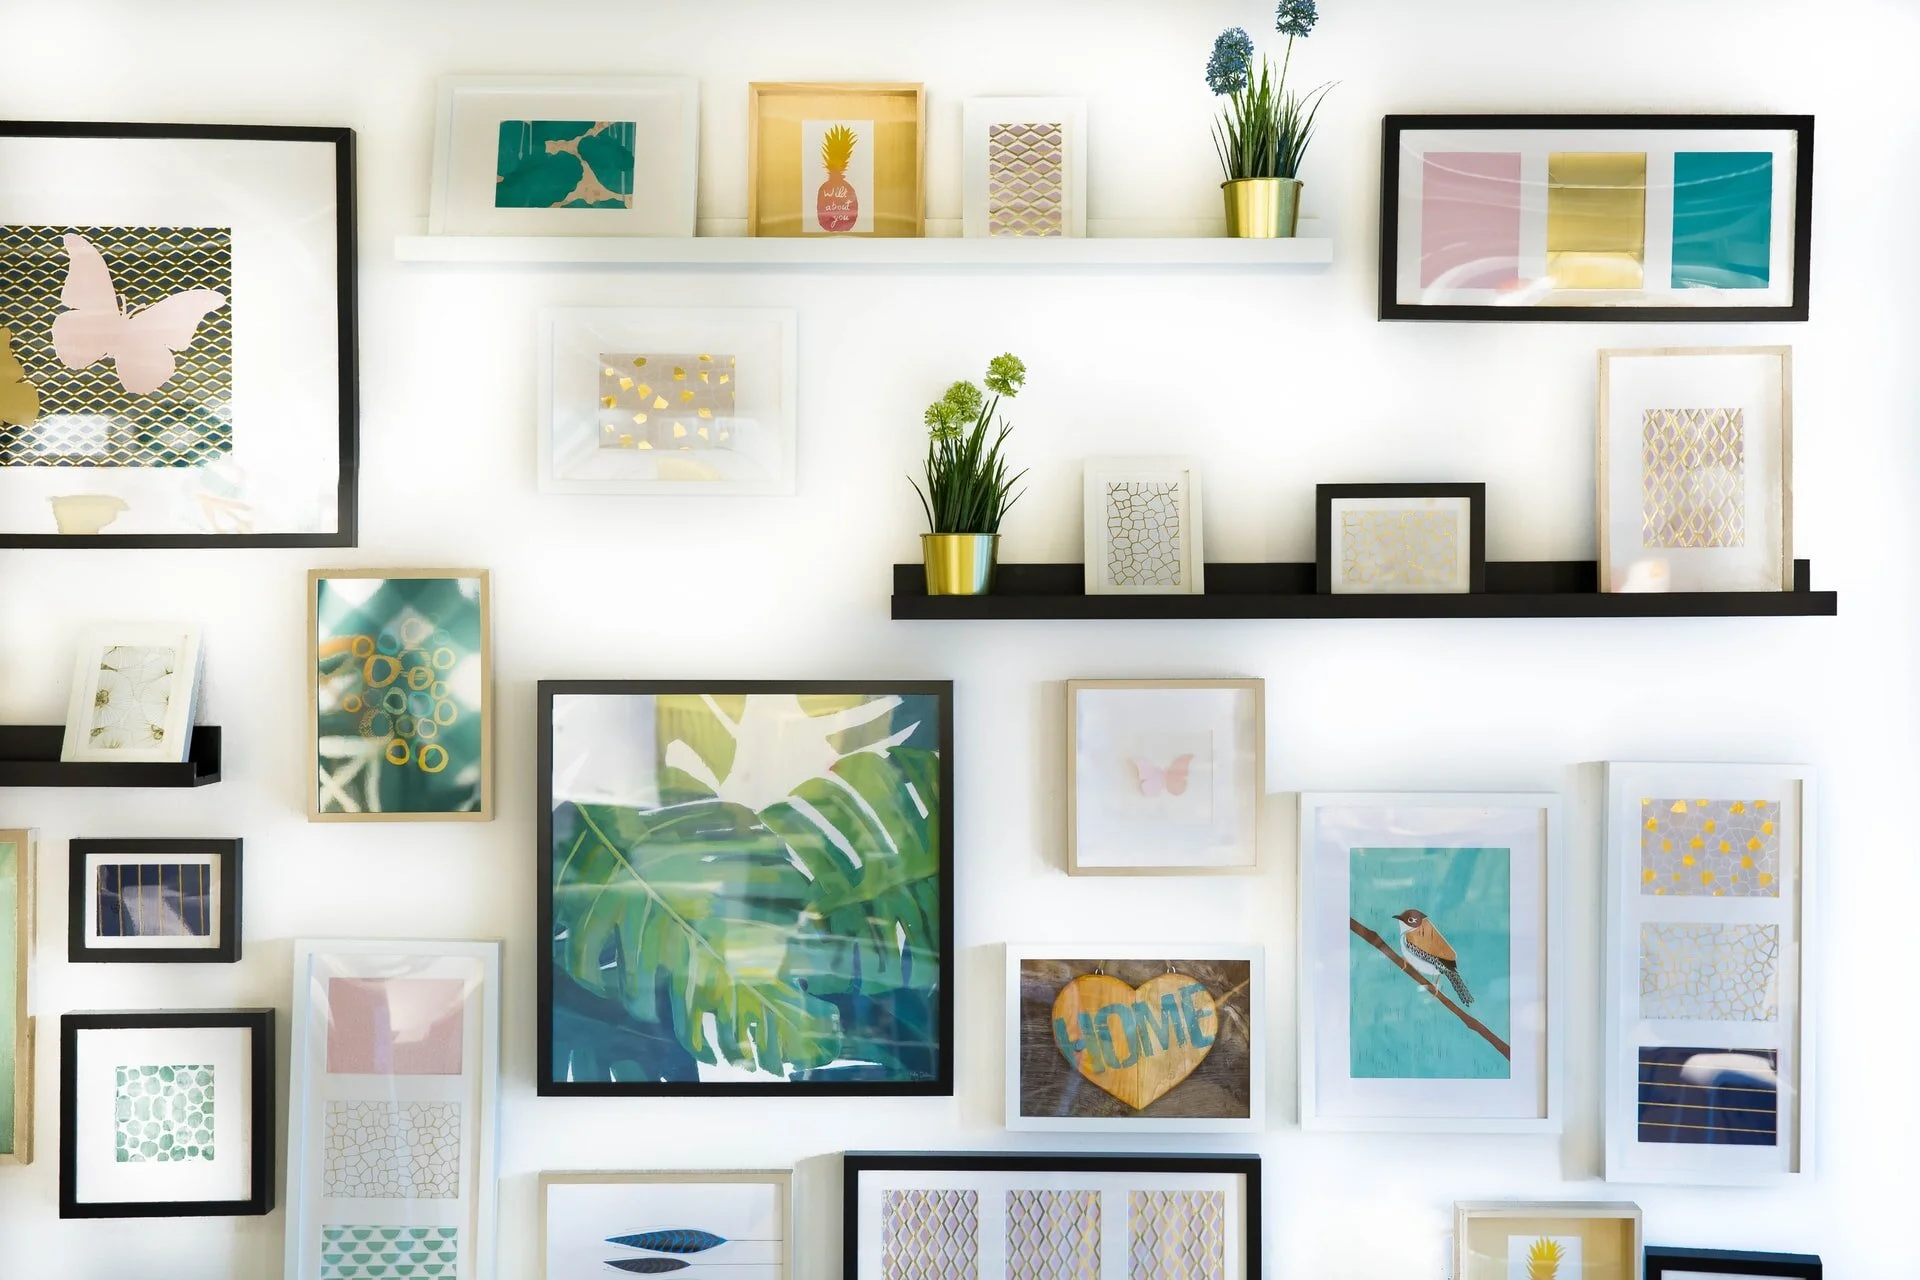
Photo by Jonny Caspari on Unsplash
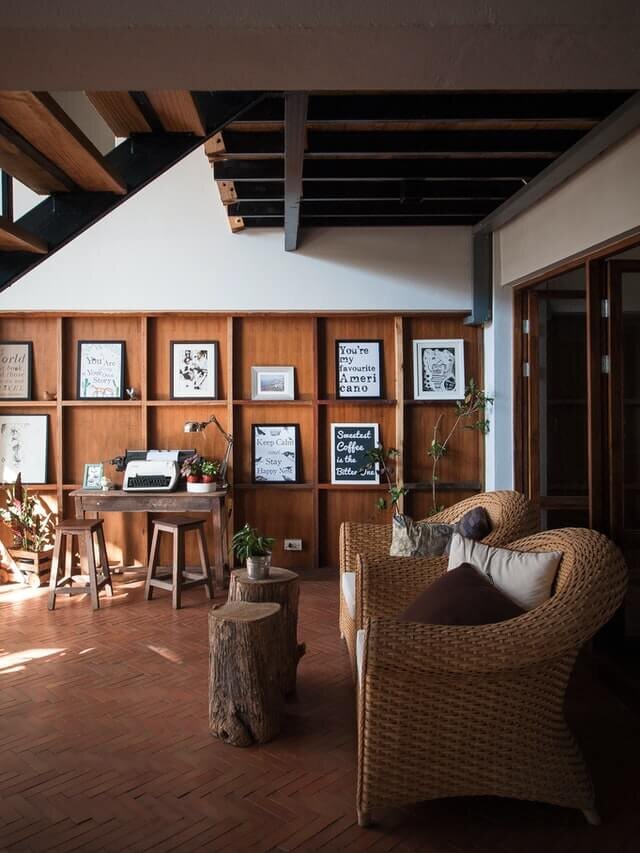
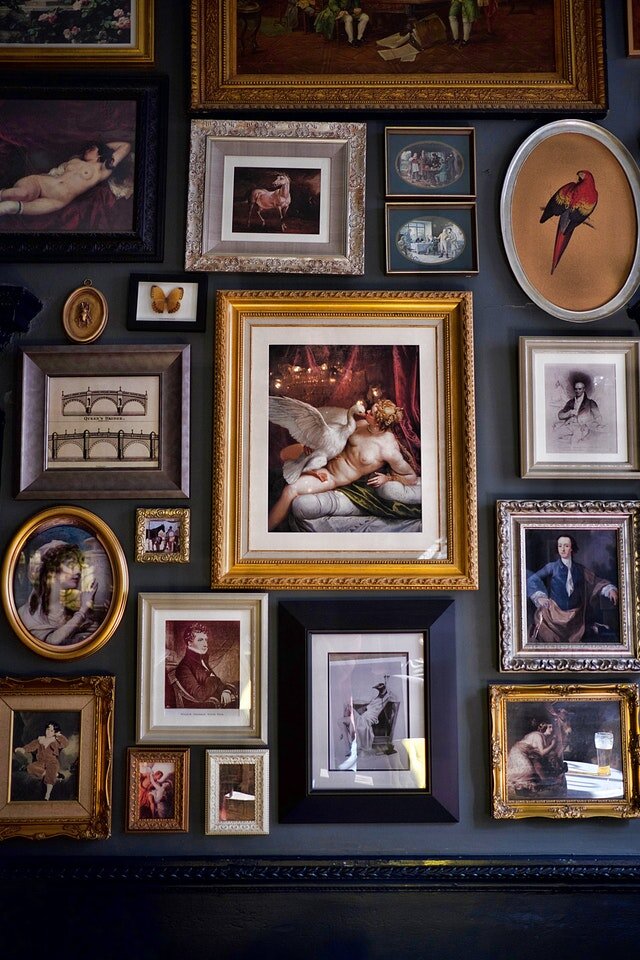
Wall Gallery Display ideas
Stair gallery wall ideas

“ART is not what you see, but what you make others see”